First, a foremost what is AWS Cloud9 IDE?
According to the good people at AWS, it is a cloud-based integrated development environment (IDE) that lets you write, run, and debug your code with a browser. In my option, AWS Cloud9 IDE offers a great code-editing experience with support for several programming languages and runtime debuggers, with built-in terminal.
I’m a big fan of Cloud9 and use it regularly. So how do you get a Jupyter notebook running in Cloud9? These are the steps I follow to get it going.
Step 1 – Spin up a Cloud9 instance
Head over to AWS Cloud9 in your AWS console.
Spin up a Cloud9 environment.
Give it a name, choose your instance type and create. (Note that it takes a few minutes to spin up)
Once created connect to your Cloud9 instance access the terminal section.
Create a python virtual environment and activate it.
python3 -m venv notebook-venv
source notebook-venv/bin/activate
Once inside you virtual environment pip install jupyterlab
pip install jupyterlab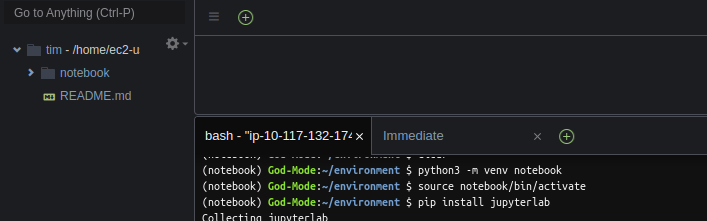
Step 2 – EC2 Configuration
Now head over to EC2 and find the EC2 instance hosting your Cloud9 environment. (I called my Cloud9 instance “tim” and searched for that).
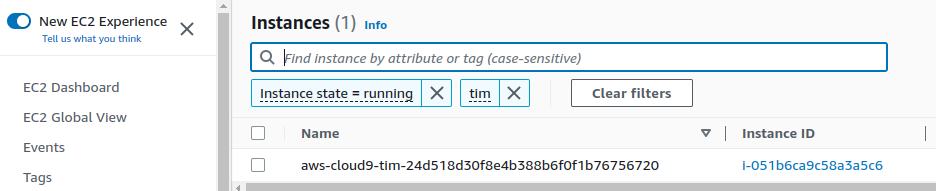
Once you have found your instance select the tick box and in the details section grab the pubic IP address for your EC2 instance (You will need this later!).
Next select the “Security” tab of your EC2 instance.

Inside the security tab find the link to your instances security group and then “Edit inbound rules“

Add in a Custom TCP type (rule) and set a port range of 8888 and the source as “My IP Address“.

Step 3 – Spin up a Jupyter notebook
Back in your Cloud9 interface start your jupyter notebook with the below code.
jupyter lab --ip 0.0.0.0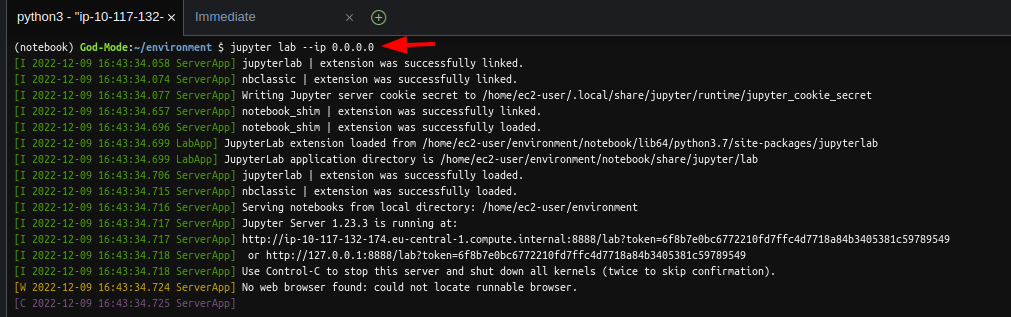
Once it is up and running open a new tab in your browser and insert the below link with the public IP Address your grabbed earlier.
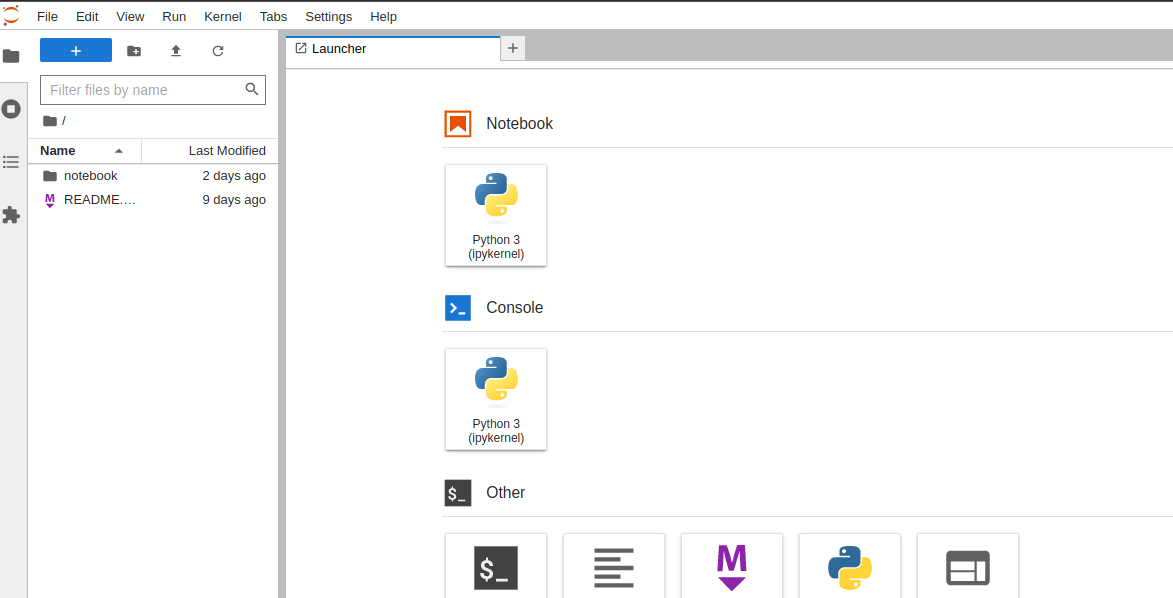
http://insert public IP here:8888/labYou should now be presented with the home page of jupyter and it is at this stage you will be able to create notebooks and run all the code you like at your hearts content.
Please note this is my “quick and dirty” way of getting jupyter up and running and is by no means the only way it’s just what I found works for me.
Tim